Getting started
What Prepped is and how to install it. Five steps then take you from a new account to a first meeting with answers in the overlay.
Prepped is an assistant for interviews and meetings. It listens to the conversation, notices each question and drafts an answer from your own material, such as your resume and your code. The answer appears in a small window beside the meeting app, with the key words highlighted so you can say it in your own words at a glance.
Where Prepped runs
| Part | What it does | Needs |
|---|---|---|
| Desktop app | The dashboard for meetings and preparation, and the overlay, a small window that stays above the meeting app and is left out of screen sharing. Listens to the computer’s sound and your microphone. | Windows 10 or 11, 64-bit, or macOS 14.2 or later on a Mac with Apple silicon or Intel. About 850 MB of disk space (800 MB on a Mac) and an internet connection. |
| Web app | The same meetings and tools in a browser, at /app/. It can listen to a browser tab or the microphone. |
Any current browser. |
| Phone version | Shows the overlay of a meeting running on your computer, with every button, or runs a meeting itself. | A phone browser; nothing to install. |
All three use the same account, so a meeting prepared in the web app is ready in the desktop app, and the other way round. The desktop app, the web app and the phone version each have their own page.
The invited test
Prepped is in an invited test. Accounts are created from an invitation link, and each invitation comes with credits that pay for the AI work (see Models and credits). Paid plans and open sign-up start with the public launch.
Install the desktop app
On Windows
- Sign in on the download page with the account you created from your invitation. The page lists the installer with its version and size.
- Run
Prepped-Setup-<version>-x64.exe. It installs for your Windows account, and you can choose the folder. Listening works right away, because the Prepped service recognizes the speech and nothing more needs downloading. - The installer is not signed yet, so Windows SmartScreen may say “Windows protected your PC”. Choose More info, then Run anyway.
On a Mac
Sign in on the download page with the account you created from your invitation. On the Mac card, choose your Mac’s processor, Apple silicon or Intel (Which Mac do I have? tells them apart), and download the installer. It needs macOS 14.2 or later.
- Open the downloaded
Prepped-<version>-mac-arm64.dmg(Apple silicon) or…-mac-x64.dmg(Intel) and drag Prepped to Applications. - Open Prepped from Applications. During the invited test the Mac app is not yet notarized by Apple, so macOS stops it the first time.
- On macOS 15 and later, close the warning, then open System Settings, Privacy & Security. Under Security, choose Open Anyway, enter your Mac’s password, and choose Open Anyway again.
- On macOS 14, Control-click (or right-click) Prepped in Applications, choose Open, then Open again.
- Each new version you download asks once more, the first time it opens.
- Right after you sign in, Prepped lists what it needs from macOS: the microphone, and Screen & System Audio Recording, which is how it hears the other side. Allow each with its button; for the recording, turn on Prepped in System Settings, then choose Reopen Prepped. The same list stays in Settings › Privacy.
Your first meeting
- Sign in. Open Prepped and sign in with your account. The desktop app opens on Meetings; the web app opens on Home.
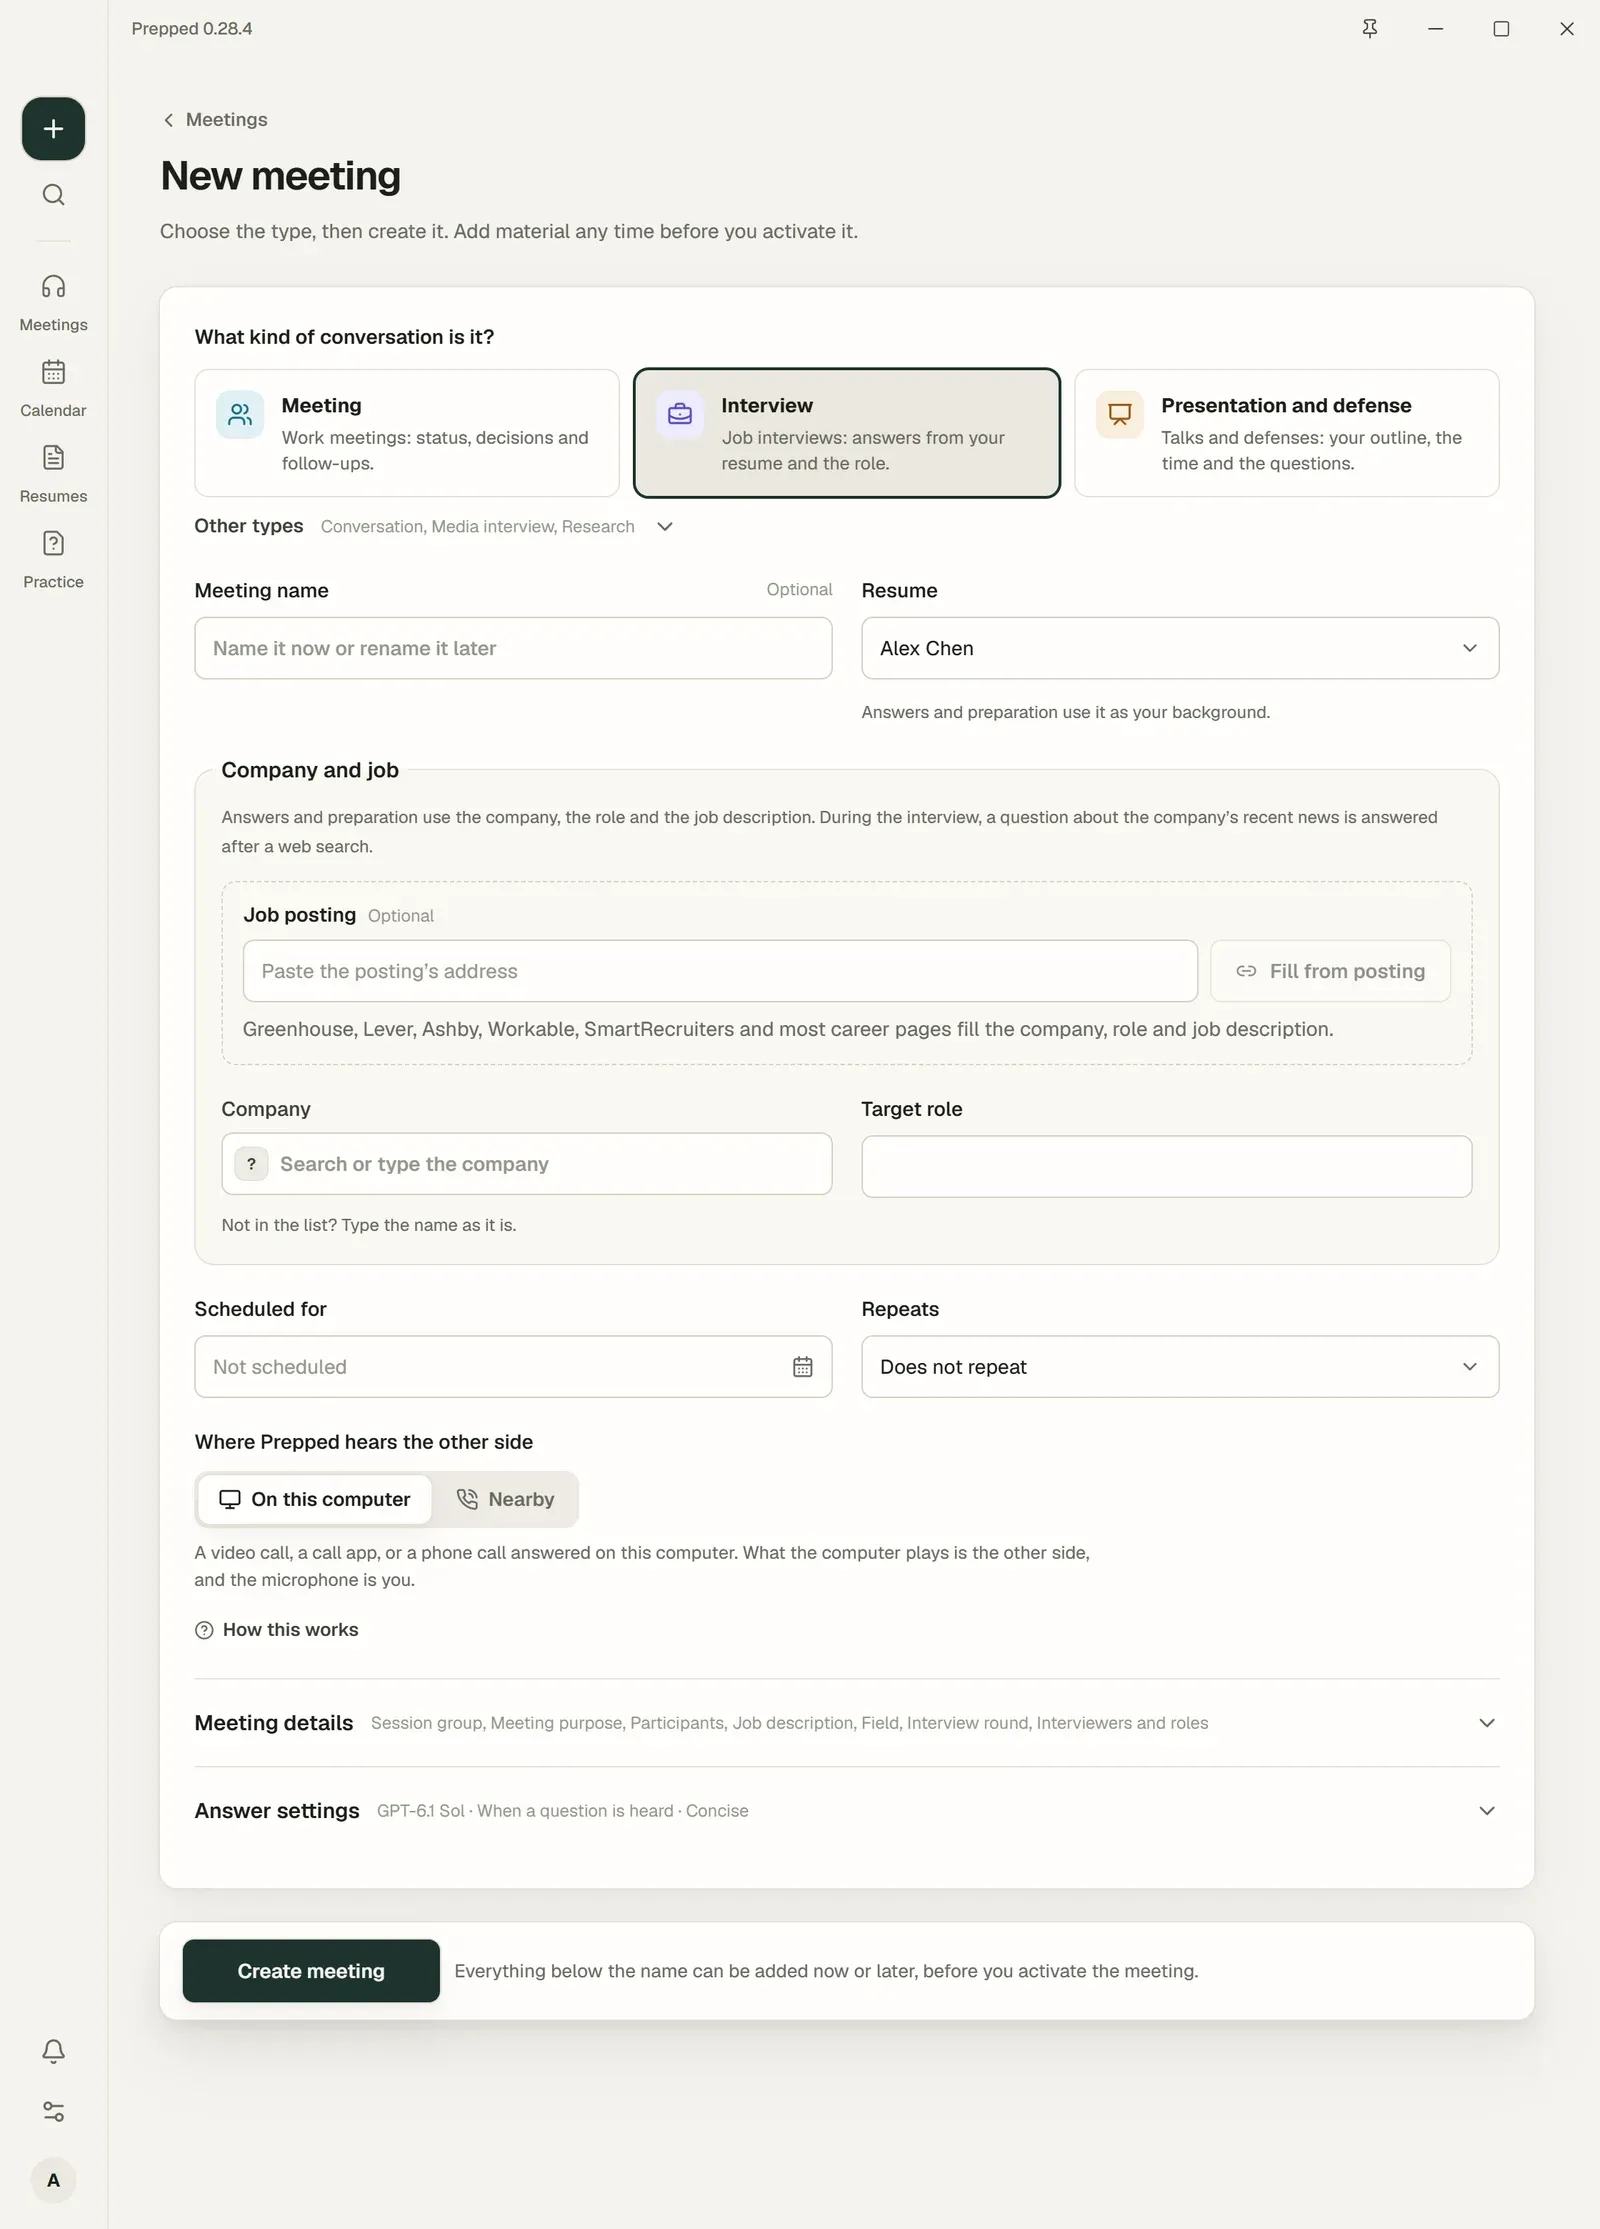
- Create a meeting. Choose New meeting, pick its type, such as an interview or a work meeting (more are under Other types), give it a name if you like and choose Create meeting. Your most recently changed resume is already chosen; everything else can wait. For a meeting that comes back on a regular day, such as a weekly group meeting, choose its time under Scheduled for and how often under Repeats beside it.
- Add your material. On the meeting’s page, attach the job description or your notes, and add a project folder or repository if the conversation may be about your work. See Preparing a meeting.
- Prepare. Under Preparation, choose Start preparation, or let the meeting prepare itself. Prepped learns where things are in your projects and finds the facts the meeting is likely to need, including those for the questions you listed yourself, with where each comes from.
- Activate meeting when the conversation starts. The overlay appears, and the desktop app starts listening to both sides, the other side through the computer’s sound and you through the microphone. In the web app, turn on System audio and the Microphone yourself. Before your first meeting, Prepped asks you to confirm that the people in your conversations agree to be recorded and transcribed.
During the meeting, answers appear by themselves when a question is heard. Press Answer (or Shift+Enter) to answer on demand, and Screenshot (Ctrl+Shift+Enter, or ⌘+Shift+Return on a Mac) to answer what is on your screen. See Live answers and the overlay.
Languages
Prepped and this site are in English, Simplified Chinese, Japanese, Korean, Spanish and French. Change the interface language under Settings, then General. Each meeting has its own answer language and meeting language, so you can use the app in Chinese and answer an interview in English.
Which meeting apps work
Any app whose sound plays on your computer works, such as Zoom or Microsoft Teams in a browser or as an app, and so do calls made through the computer. Nothing is installed inside the meeting app. For a phone call, see The phone version and phone calls.
May I use Prepped in a job interview?
That depends on the employer. Many hiring processes ask candidates not to use outside help during a live interview, and some do not allow recording. Read the instructions you were given and ask when they are unclear. Preparing beforehand and practicing with Prepped are open to anyone.